 S2K Commerce - Shopping Cart
 S2K Commerce - Products Dropdown
 Web Content Viewer
How to select, buy and install a Backup Water Tank with a Pressure Tank
In regions where water supply can be unreliable, having a backup water system is crucial. A backup water tank with a pressure tank can ensure a continuous water supply during emergencies or when the main water source is temporarily unavailable. In this guide, we will walk you through the process of selecting, purchasing, and installing a backup water tank with a pressure tank.
- Assess Your Needs
Before diving into the purchasing process, it's essential to evaluate your water requirements. Consider the number of occupants in your household, daily water usage, and any specific needs like irrigation or livestock. This assessment will help determine the appropriate size and capacity of your backup water tank.
- Research and Compare Options
Once you understand your water requirements, research different types of backup water tanks and pressure tanks available in the market. Common options include plastic, steel, or concrete tanks. Compare features such as capacity, durability, maintenance requirements, and warranties. Additionally, consider the space available for installation and any specific building regulations in your area.
- Seek Professional Advice
Consulting with a professional plumber or water systems expert is highly recommended. They can provide valuable insights regarding the right tank size, pressure requirements, and installation considerations specific to your property. Their expertise will ensure that you make an informed decision and avoid any potential issues during the installation process.
- Purchase and Prepare for Installation
Once you've selected the appropriate backup water tank and pressure tank, make your purchase from a reputable supplier. Ensure that all necessary accessories, such as fittings, pipes, and valves, are included. Prepare the installation site by clearing the area, levelling the ground, and ensuring proper drainage.
- Install the Backup Water Tank
Installing a backup water tank with a pressure tank is best done by a professional plumber. They will follow the necessary safety precautions and ensure proper connection to your existing water supply system. The installation will involve connecting the tank to the main water source, installing a pressure tank to maintain consistent water pressure, and setting up any necessary plumbing connections. There will also be some electrical work to connect the pump to the power supply, remember to ensure that the pump is on its own electrical breaker.
- Regular Maintenance and Monitoring
After installation, establish a maintenance schedule to keep your backup water system in optimal condition. Regularly check for leaks, clean the tank, and test the pressure settings. It's also important to keep an eye on the water level to ensure an adequate supply during emergencies.
Selecting, purchasing, and installing a backup water tank with a pressure tank requires careful consideration of your water needs and professional guidance. By following the steps outlined in this guide, you can ensure a reliable backup water system that provides peace of mind and uninterrupted water supply during emergencies or temporary water shortages.

Here is a listing of the typical things required for a backup water tank system, including the electrical needs for the pump:
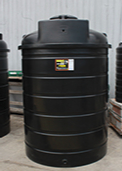
1. Backup Water Tank:
- Select an appropriate size and capacity based on your water requirements.
- Choose a tank material suitable for your needs, such as plastic, steel, or concrete.
- Consider additional features like UV resistance, insulation, and durability.
2. Pressure Tank:
- Ensure the pressure tank is compatible with the backup water tank and meets your desired pressure requirements.
- Consider the tank's capacity and pressure range to accommodate your household's water demands.
3. Pump:
- Select a reliable and efficient pump that can handle the required water flow and pressure.
- Consider factors like the pump's power source (electricity, solar, or manual) and its compatibility with the backup water tank system.
- Check the pump's horsepower (HP) rating to ensure it matches the system's needs.
4. Electrical Requirements:
- Determine the power supply needed for the pump. Most pumps require electricity.
- Assess the voltage and current requirements of the pump and ensure you have an appropriate electrical outlet nearby.
- Consider hiring a licensed electrician to handle any necessary wiring or electrical connections.
5. Plumbing Connections and Accessories:
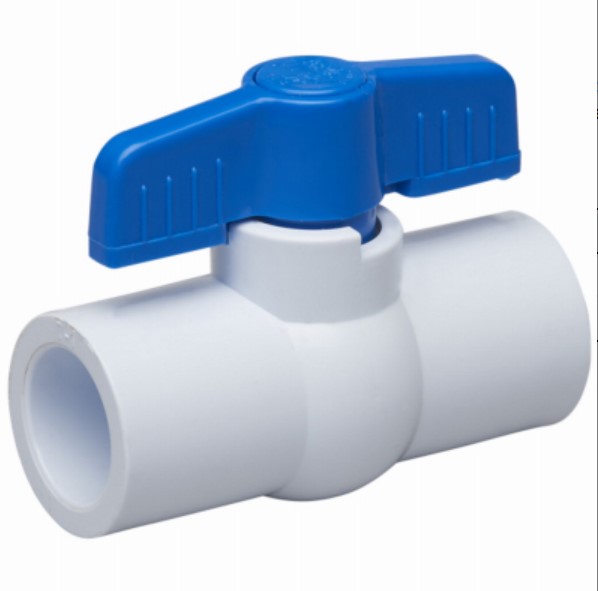
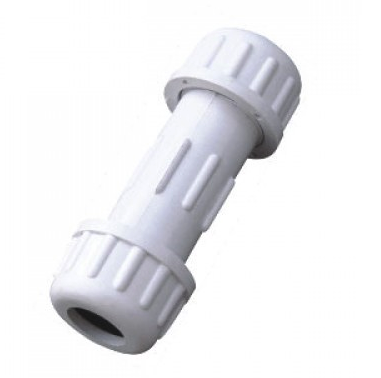
- Gather the necessary fittings, pipes, and valves to connect the backup water tank, pressure tank, and pump to your existing water supply system.
- Ensure you have the correct sizes and types of connectors for a secure and leak-free installation.
- Consider additional accessories like filters, gauges, and pressure switches for enhanced functionality and maintenance.
6. Installation Tools:
- Have a set of basic tools ready, including wrenches, pliers, pipe cutters, and Teflon tape for sealing connections.
- Depending on the complexity of the installation, you may need additional tools like a hacksaw, drill, or a pipe threader.
7. Professional Services:
- Consider hiring a professional plumber to handle the installation of the backup water tank system.
- Engage a licensed electrician if electrical wiring or connections are required for the pump.
- Seek professional guidance to ensure compliance with local building codes and regulations.
Remember, it's crucial to consult with experts and adhere to safety guidelines when installing a backup water tank system. They can provide specific recommendations based on your unique requirements and ensure a safe and efficient installation.


